We built this page from manufacturer guides, official product pages and safety guidance. We did not install or test any RV system, and we list no prices, because they change often. So every figure comes from the sources or from simple math you can repeat. This is not an installation manual.
Two ways to add solar to an RV
There are two routes, and they suit different people.
However, many people start with the second route and add a built-in system later. Our guide to the best solar generators and guide to the best portable power stations compare units, and our camping power station guide covers small trips.
The parts of an RV solar system
A solar system has four main parts.
- Panels. They make the energy.
- A charge controller. It manages how the battery fills. Renogy says MPPT controllers are more efficient than PWM, but they cost more.
- A battery. It stores the energy. Many RV systems use lithium iron phosphate cells.
- An inverter. It turns battery power into household AC for outlets.
Our off-grid solar system guide explains how the parts fit together, and our solar panel connectors guide covers the plugs you will meet.
Step 1: add up your daily watt-hours for RV solar panels
First, daily energy equals power times hours. EPEVER, a charge controller maker, says cycling appliances such as a compressor fridge should use a realistic duty cycle, not continuous operation. Its example of a weekend traveler looks like this, and the numbers are the guide's, so swap in your own.
For a van or camper, your list will differ. Our freezer wattage guide shows how to find the real figures for a cooler or fridge.
Step 2: size the panels
EPEVER gives this formula: panel wattage equals daily energy divided by peak sun hours times system efficiency. Renogy says most places get 3 to 6 peak sun hours a day, and that shading, a poor angle and dirt reduce output.
However, EPEVER does not give a numeric efficiency. We use about 75%, which is our rule of thumb for losses from wiring, heat and the controller. It is not a manufacturer figure.
For 800 Wh a day and 4.5 peak sun hours, the math is 800 divided by 4.5 times 0.75. That gives about 237 W. EPEVER's own example says to expect an array in the 250 to 300 W range. So plan on about 250 W, and add more if you travel in winter or camp in shade.
Because sun hours vary, you should check your region and season. At 3 peak sun hours, the same 800 Wh needs about 356 W. At 6 hours, it needs about 178 W.
Step 3: size the battery
Start with the daily energy, then add a margin for losses. We count on about 85% for conversion losses, which is our rule of thumb. So 800 Wh divided by 0.85 is about 940 Wh.
A 12 V, 100 Ah battery holds about 1,200 Wh nominal, since volts times amp-hours gives watt-hours. EPEVER uses a 12 V, 100 Ah lithium iron phosphate battery for its 800 Wh a day example. It suggests more capacity for cloudy weather or several days off the grid, and it cites a 200 Ah or larger bank for full-time living.
Check the maker's usable-capacity figure, because the label is not always what you can draw. Our DIY solar battery bank guide explains how to convert watt-hours to amp-hours and why wiring matters.
Two worked examples
A weekend in a van
This is the example above: 800 Wh a day. The math gives about 240 W of panels, so a single 200 W panel falls a little short and two give a margin. The battery needs about 940 Wh, so a 12 V, 100 Ah lithium battery covers it with a small cushion. If the weather turns cloudy, the battery alone lasts about one and a quarter days after losses, and less once you leave a reserve.
A longer stay in an RV
Say your loads total 2,000 Wh a day. These are made-up numbers, so check yours. With 4.5 peak sun hours and our 75% rule, the panels need about 2,000 divided by 4.5 times 0.75, or about 593 W. The battery needs about 2,000 divided by 0.85, or about 2,350 Wh. That is about 196 Ah at 12 V, or about 98 Ah at 24 V.
Against EPEVER's rules, a 600 W array is below the 800 W mark that points to 24 V, so 12 V can still work if the inverter stays small and the cables are short. Because the battery is large, though, a 24 V bank halves the current. So the choice depends on your inverter and your cable runs.
Step 4: pick the system voltage
EPEVER gives rules of thumb.
- 12 V fits when daily use is low, the inverter is under about 1,000 W, cable runs are short and most loads run on 12 V.
- 24 V fits when arrays exceed about 800 W, inverters are larger, cable runs are long or you plan to expand.
A higher voltage means less current for the same watts. For example, a 1,000 W load pulls about 83 A at 12 V and about 42 A at 24 V. Victron says higher system voltage reduces current and allows thinner cables.
Step 5: match the charge controller
EPEVER says to match the controller to the array wattage, the battery voltage, the maximum charging current and the panel's electrical specs. Check one number first: the panel's open-circuit voltage must not exceed the controller's maximum input. The Renogy page says the same for power stations, and it lists 21.6 V for its 200 W panel.
Roof panels or portable panels
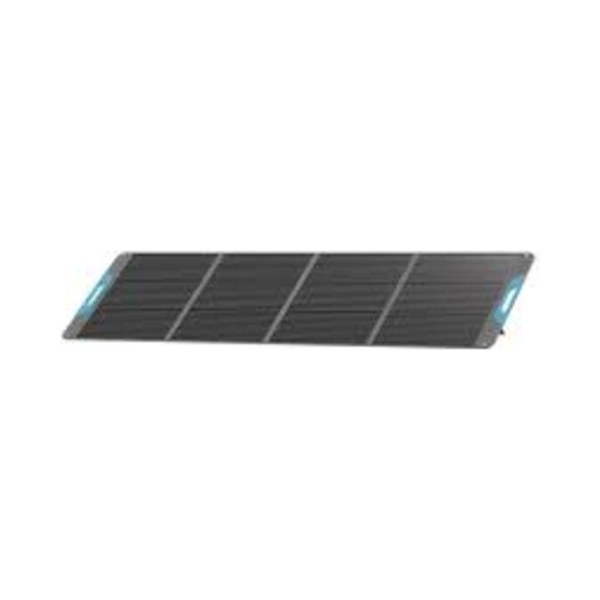
Roof panels stay in place and charge whenever the sun is out, even when you drive. Portable panels sit on the ground, so you can aim them at the sun and park the RV in the shade. The Renogy E.Flex panel unfolds to about 87.8 by 23 inches, so you need a clear spot, and it weighs 13.89 lb. The trade is simple: a fixed array is convenient, and a portable one is flexible. Many people use both.
Whichever you pick, keep the panels clean and out of shade. Renogy says shading, a poor angle and dirt reduce output, so move or tilt a portable panel as the sun moves.
Panel options from our list
The Renogy page says the panel can charge most batteries, with a charge controller, and power stations. It makes no RV-specific claim, and it does not name a connector. Its warranty is unclear, because a banner says 2 years while the spec table says N/A. The Jackery figures come from blog pages, not product pages, so confidence is lower.
The Renogy panel makes about 600 Wh on a strong sun day by our rule: 200 W times four hours times 0.75. Two of them would nearly cover the 800 Wh a day in our example.
Portable power stations for an RV
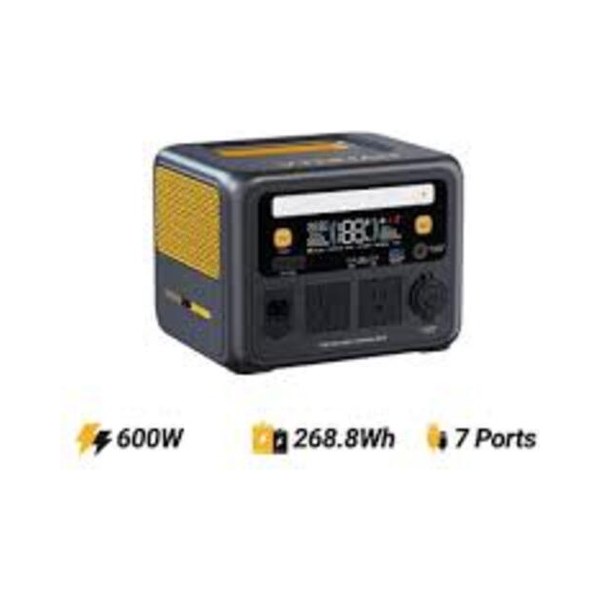
A power station is the simplest start. Here are three units from our list.
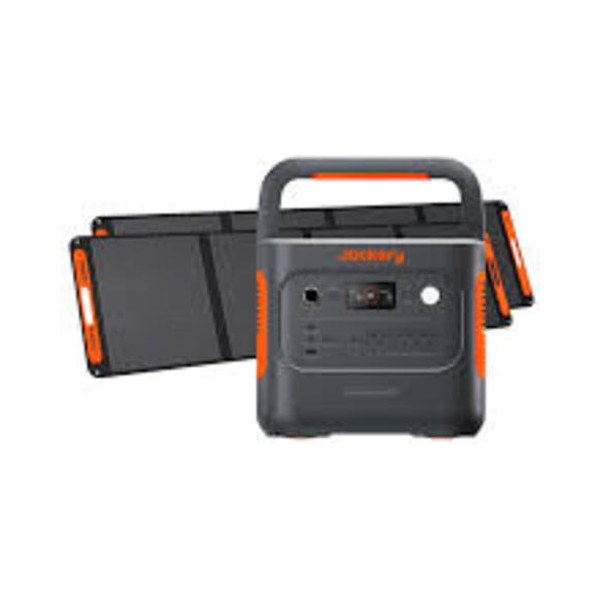
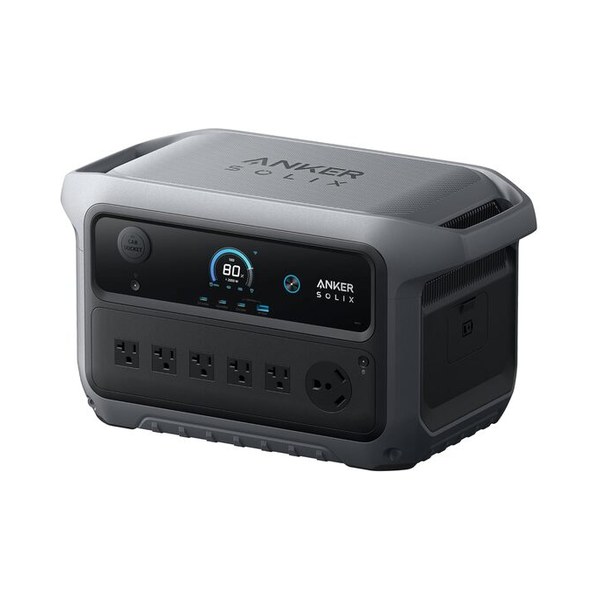
The Jackery specs are for the power station only, not the panels. The Anker figures come from a marketing page, so confidence is lower, and its warranty is to be confirmed. The Vtoman page mentions both a 2-year warranty and 5-year after-sales service, so read the terms.
Against our 800 Wh example, the usable energy is about 1,735 Wh for the Jackery, 1,741 Wh for the Anker and 1,316 Wh for the Vtoman. That is about 2.2, 2.2 and 1.6 days without sun. With the Jackery's two 200 W panels, about 1,200 Wh a day on good sun days by our rule, the unit would refill faster than the example drains it.
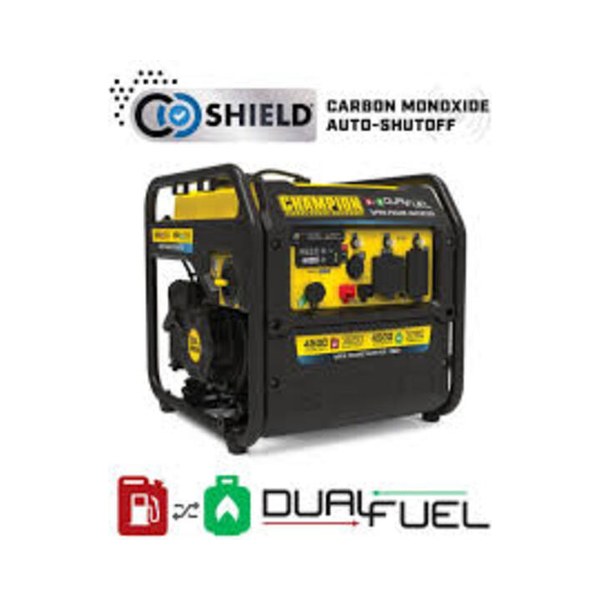
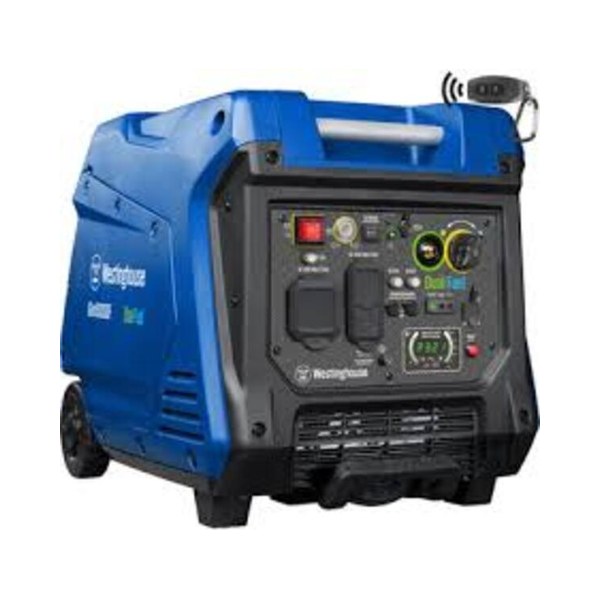
A TT-30R outlet is the 30 A, 120 V plug used by many RVs. The Champion 201321, the Westinghouse iGen5000DF and the Anker C2000 Gen 2 list one. Check your RV's inlet and your adapter before you rely on it.
What RV solar panels can run
So small loads such as lights, a fan, phone chargers, a laptop and a fridge are realistic for a portable unit. Heating and cooling are the problem. Our portable AC guide explains why an air conditioner empties a battery fast. If you want an air conditioner, plan for a much larger battery and inverter, or use shore power or a generator.
A generator as a partner
Solar depends on weather, so many RVers keep a generator for long storms or shade. The Champion 201321 lists 3,650 W running and a TT-30R outlet, and the iGen5000DF lists 3,900 W running and a TT-30R outlet. Our guide to the best portable generators compares more models, and our solar vs gas generator comparison shows when each fits.
Follow the safety rules. The U.S. Consumer Product Safety Commission says to use portable generators outside only, at least 20 feet from doors, windows and vents. It also says never to use one in a home or garage, even with doors and windows open, so keep it away from the RV too. Install battery-operated carbon monoxide alarms. Many campgrounds limit generators, so ask before you go.
Wiring and fuses
Wiring is where mistakes cause fires. The Victron guide says each supply and consumer needs its own fuse in the positive cable, plus a main battery fuse. It also says undersized wiring or bad electrical contact can cause a fire, and that you should not short-circuit batteries. For cables up to 5 m, it gives a rule of thumb of dividing the current by 3 to get the cross-section in mm², and it aims for a voltage drop below 2.5%.
If you are not comfortable with DC wiring, hire a licensed electrician, or choose a portable power station, where the maker has done the wiring.
Winter and cloudy days
Solar output falls in winter and under clouds. Renogy says most places get 3 to 6 peak sun hours a day, which is a wide range. At 3 hours, our 800 Wh example needs about 356 W instead of 237 W. So if you camp in winter, size the array for your worst month, or plan to run a generator or use shore power on bad days. A larger battery also helps you ride out a cloudy day or two.
Care and storage
The pages we collected give no care schedule, so follow the manual of the unit you buy. In general, keep panels and connectors dry and clean, charge the battery before a trip and check it from time to time if the RV sits unused. For a home backup version of the same ideas, see our guide to the best home emergency generator.
Mistakes to avoid
- Counting panel watts as daily energy. A 200 W panel makes about 600 Wh a day by our rule, not 200 W all day.
- Skipping the peak sun hours. They change with place and season.
- Ignoring the controller limits. The panel's open-circuit voltage must stay under the controller's input limit.
- Sizing the battery by the label. Use the usable capacity.
- Forgetting the surge. A compressor may need far more than its running watts.
- Underestimating air conditioning. It dwarfs the loads in our example.
- Running a generator near the RV. Keep it outside and at least 20 feet from doors, windows and vents.
Checklist before you buy
- Daily watt-hours. Add up your loads first.
- Panels. Divide by sun hours and efficiency.
- Battery. Add margin for losses, and check usable capacity.
- Voltage. Pick 12 V or 24 V by your inverter and cable runs.
- Controller. Match it to the panels and the battery.
- Connectors. Check the plugs before you order.
- Weight and space. Plan where the panels and the unit will sit.
- Warranty. Read the terms.
- Current price. Check the retailer page, because we list none.
The bottom line
RV solar panels work best when you size them from your own daily watt-hours. For a light weekend load of about 800 Wh, expect about 250 W of panels and a 12 V, 100 Ah lithium battery. For something bigger, move to 24 V and a larger array. If wiring is not your thing, a portable power station with folding panels is the simpler way to start, and a small generator can cover long storms.
Prices and availability change often, so check the retailer page before you decide.